Let's begin!

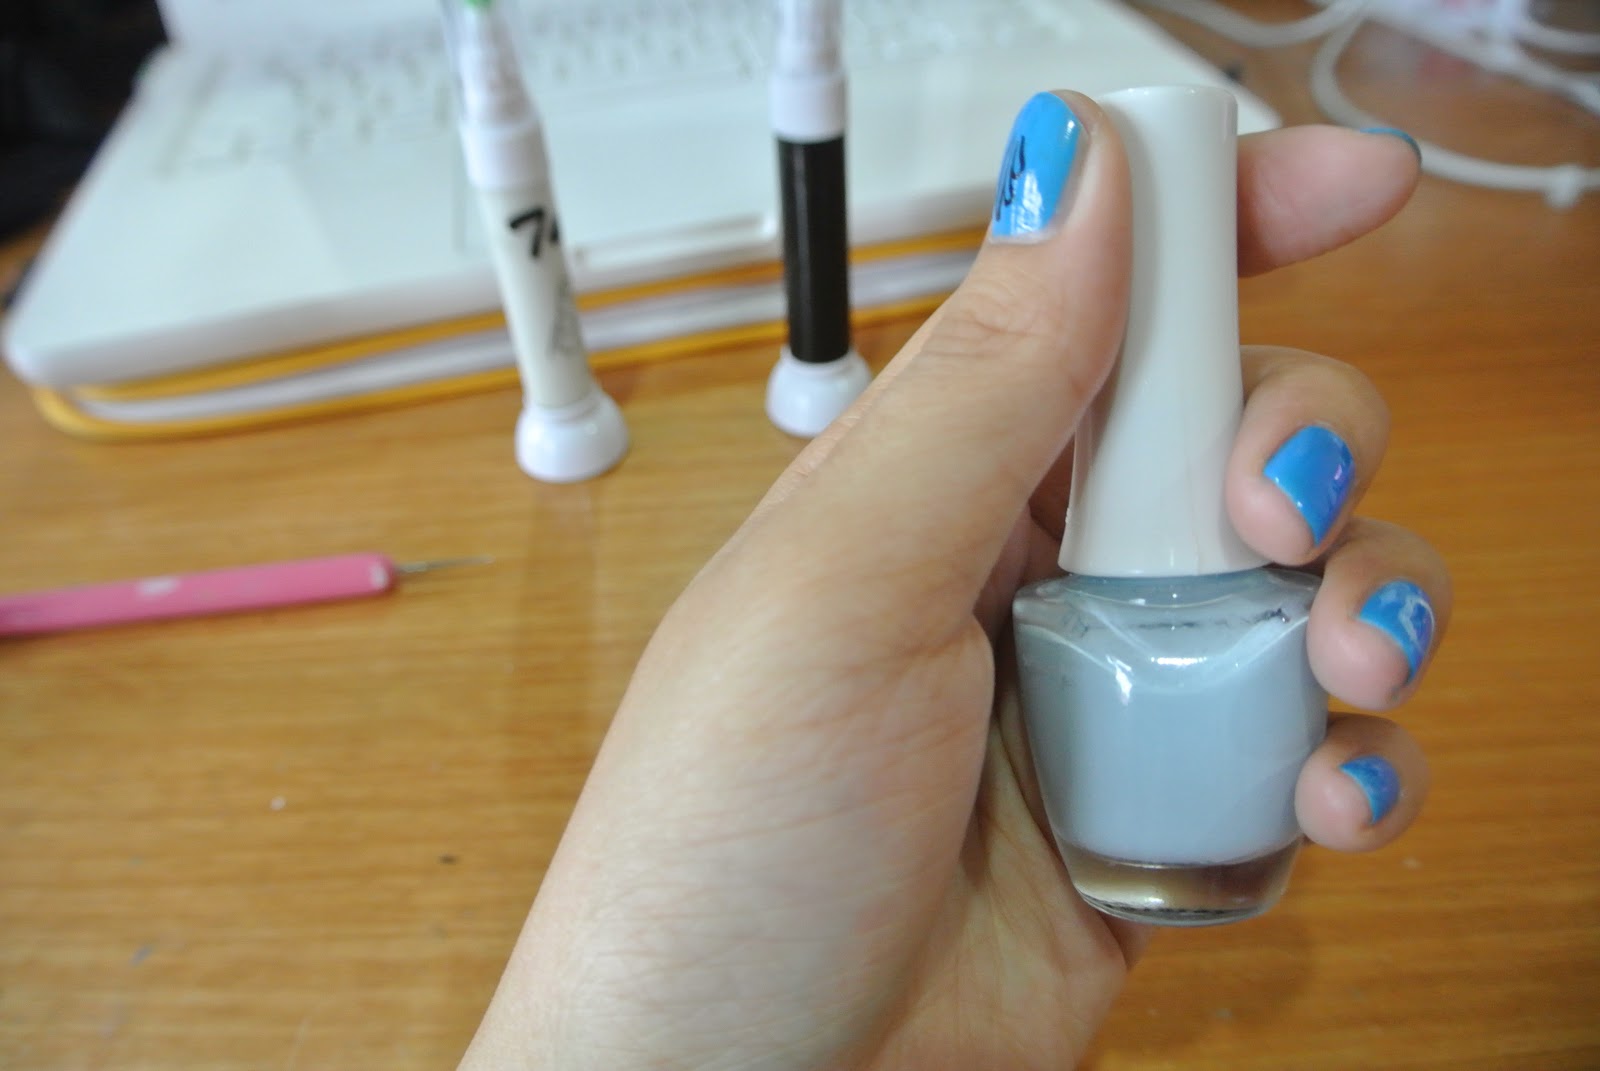
All you need to prepare are a double point dot, nail colour brush, and nail polish shown at above.
White, light blue, blue.

First, paint a layer of base coat before you paint your nail polish.
Then, paint a layer of blue colour.
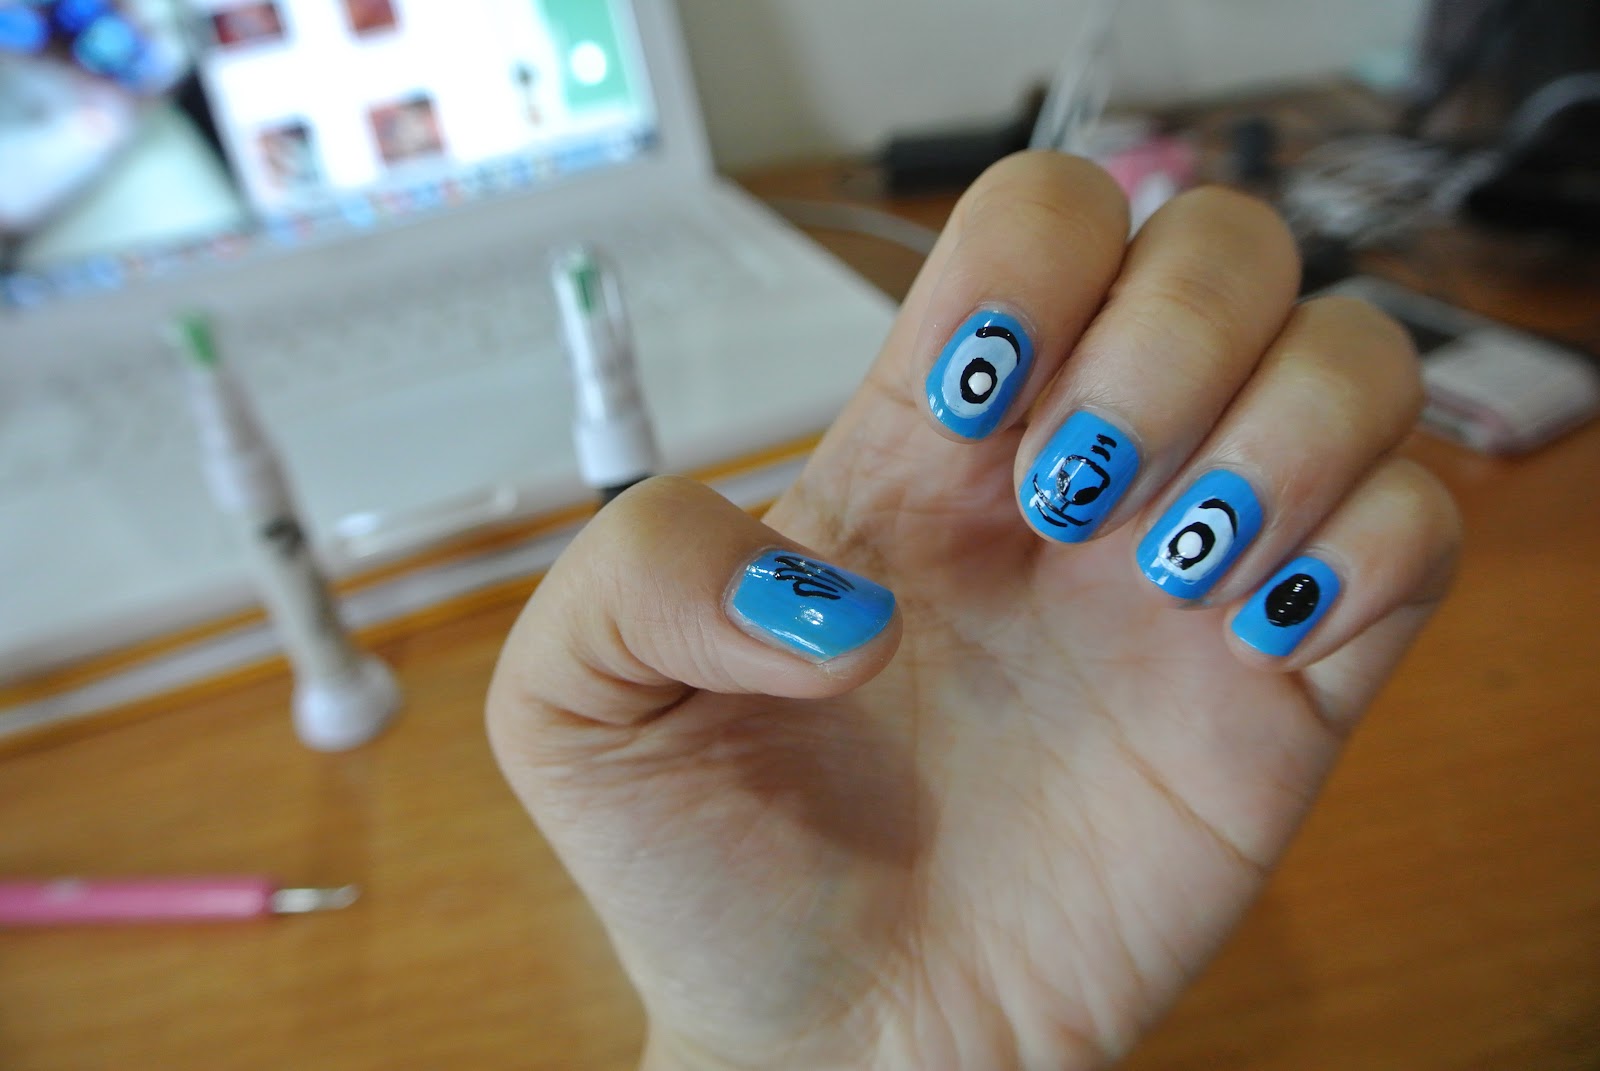
*THUMB*

Using a nail colour brush (black) to make Stitch's hair.
It goes like this
.
.
.
.

1

2

3
*Index and ring finger*

Using a nail colour brush (white) to make Stitch's eyes.

Next, draw a bean shape on your 2nd and 4th nail.
Then, prepare a light blue.

Fill in the blank!

After that, draw a smaller bean (black) on top the light blue.

Fill in the blanks again.

Using a double point dot, dip some white colour and dot it on top the black colour.

Draw a 2 curves to makes it eyebrows.
*Middle finger*

Draw a shape shown as above.

Then, colour it with 2 black hole shown as above.

Then, using a nail colour brush (black) to draw it mouth.
*Baby finger*

Use a nail colour brush (black) to draw a circle on your baby nail.
Then, fill in the blank!
And...
YOU'RE DONE!
Lalallalalla
Kinda blurrr?
I'm sorry for the poor english.
But, I think pictures explain everything right?
Hee
Hope you don't mind!

I made the other one, Pikachu.
Cute right?
You can using the same step as above to make this too!
Go on!
Start now!

My baby Stitch and Angel ❤
That's all for this post! Hope you enjoy reading my blogs and thanks! Toodles ♬
Liv the C'est la vie
2 comments:
what are the blue nail polish and the black nail art pen brands? please answer,thanks. :)
Ouh, okay. The blue nail polish I bought it at the faceshop. The black nail art pen I bought it at Gurney, a small stall which is just right outside the Brikenstock ;))
Post a Comment